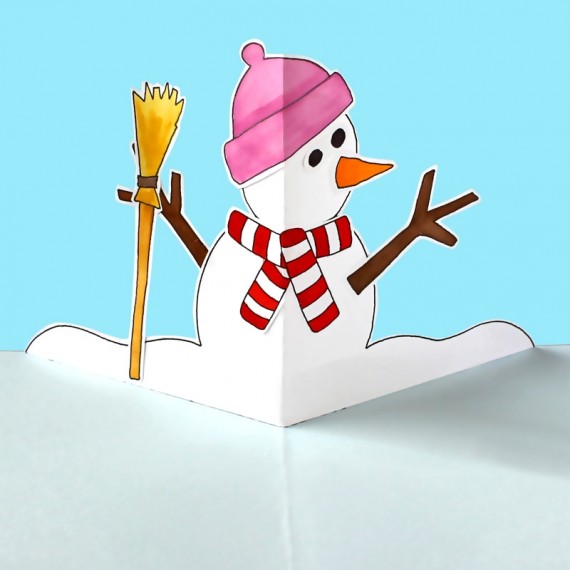
To get started, all you need is to download our Pop-Up Cards - Winter templates. Print out the base card and your chosen design on heavy printing paper. Color the pictures. You can arrange and add pieces as you like.
Create Your Own Winter Wonderland: Pop-Up Card Crafting!
Blog Image placeholder

What you’ll need
Scissors,
Heavy printing paper,
Colored pencils,
Ruler,
Glue,
Nail file

Duration
1 hour +
Age
6 years +
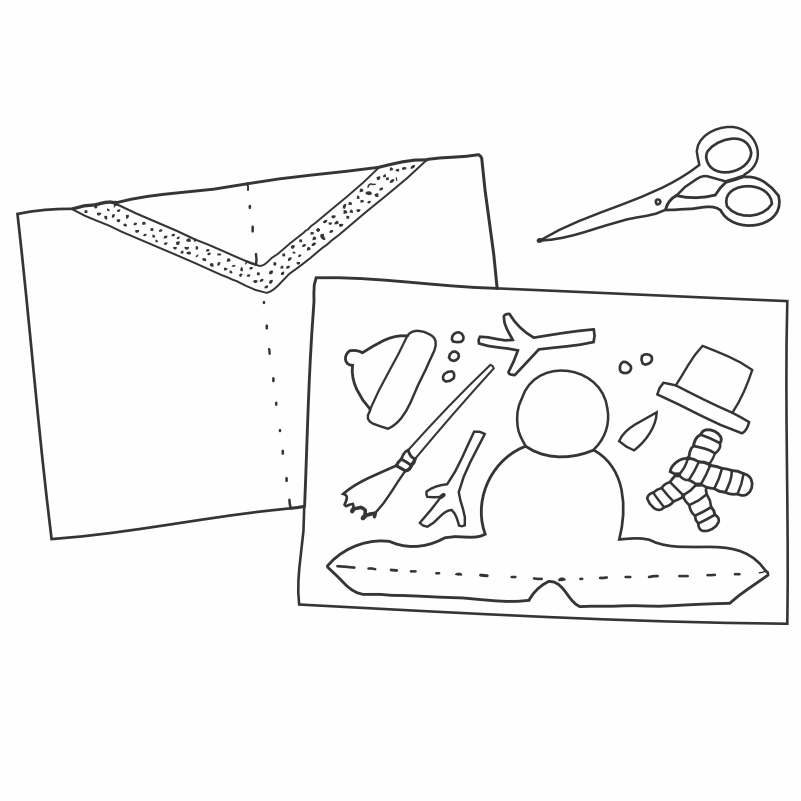
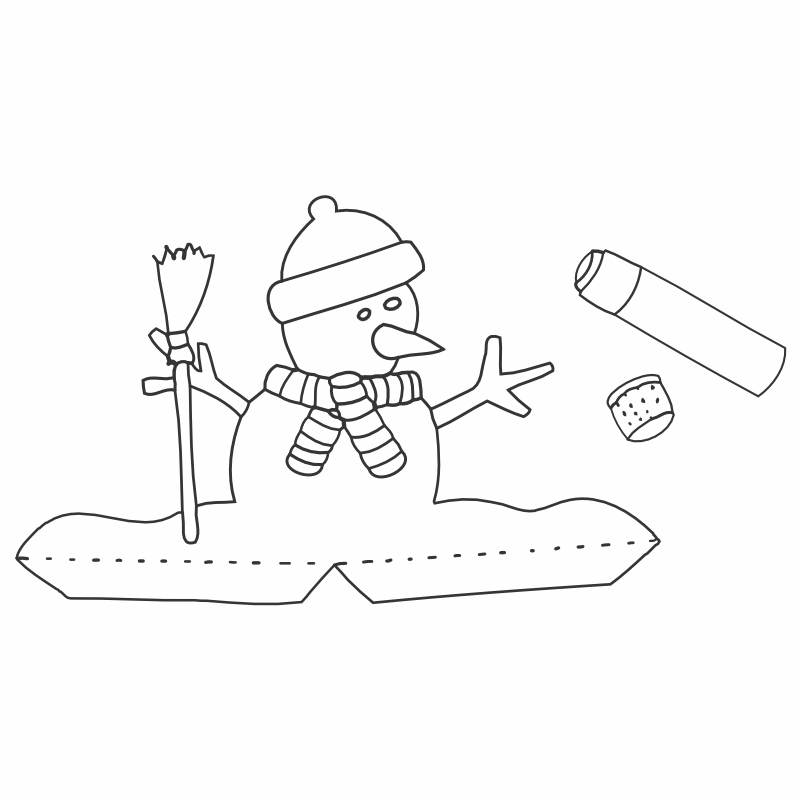
Cut out the tabs by cutting along the solid line. Score slightly above the dashed line using a ruler and a nail file.

Cut out the main figure and any individual pieces you like, leaving a small white border around them- this makes it easier and it has a nice effect.

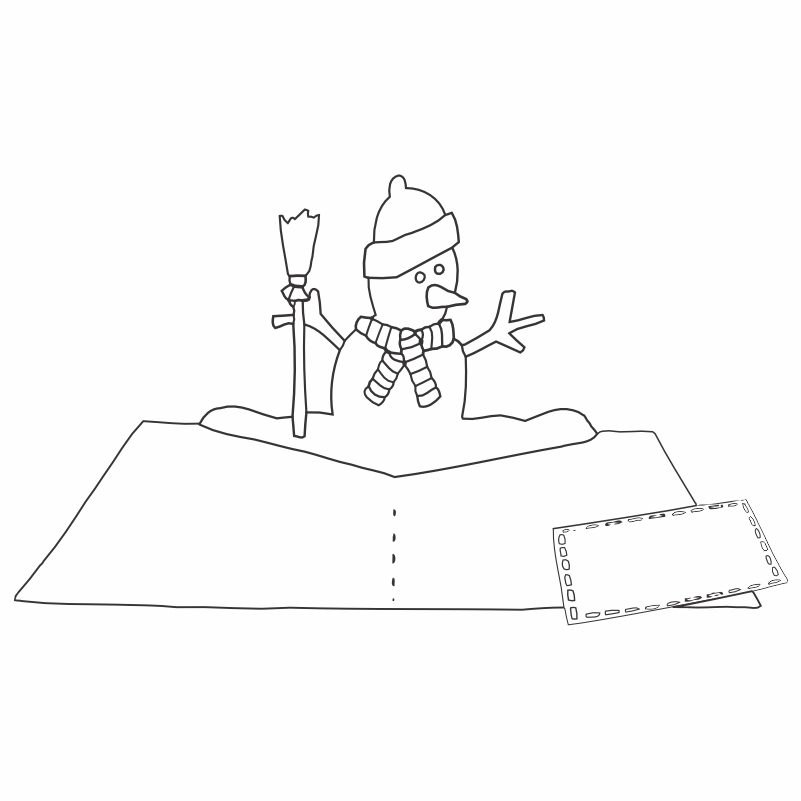
Fold the main figure down the middle so the tabs are exactly on top of one another and then unfold again. Print page 11 ‘Make Your Own‘ on paper.

Arrange the pieces inside the frame how you want to glue them. The pieces shouldn‘t go over the edges, otherwise the card won‘t fit into an envelope.
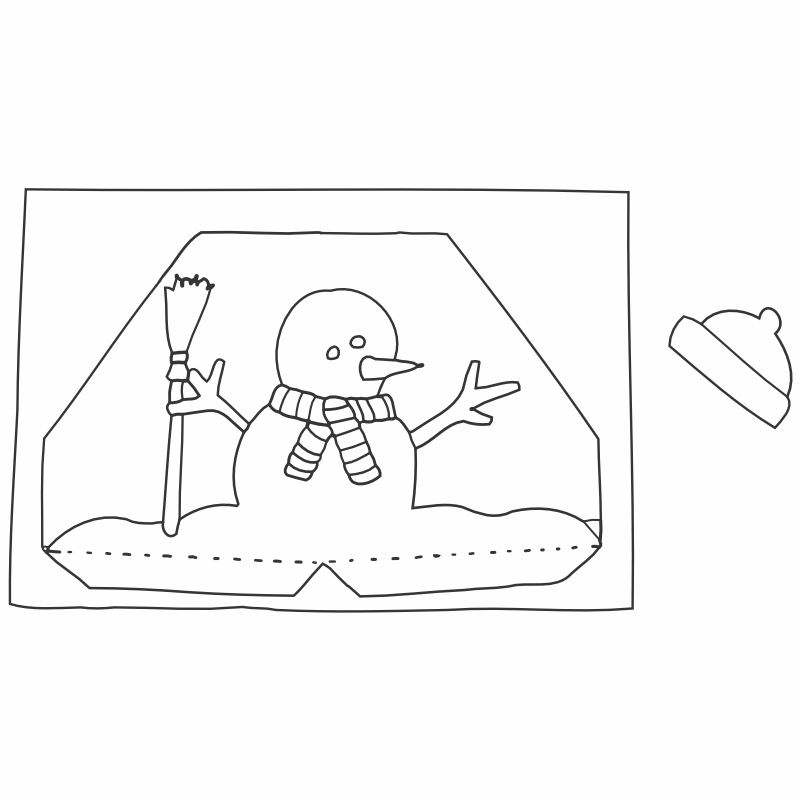
Since there‘s no background, only put glue on the parts where the pieces overlap.
Once the glue dries, fold the figure in half again. Be sure the tabs are still exactly on top of one another and then unfold again.

Glue the tabs of the figure onto the base card. If you like, print the labels, cut one out and glue it to the inside or outside of the card.
Shop featured products

Pop-Up Cards - Winter
Create your own adorable pop-up cards with this resource. You can color 8 templates of winter scenes that will surprise your friends and family!
$ 4,90