Halloween Embroidery: A Spooky and Crafty Way to Learn Needlework Skills

4621-EN-Embroidery Patterns - Halloween - Blog title.jpg
Blog Image placeholder
What you’ll need
Scissors, Pin-prick needle and felt, Tape, Cardboard, Needle and thread, Printing paper
Duration
1 hour +
Age
7 years +

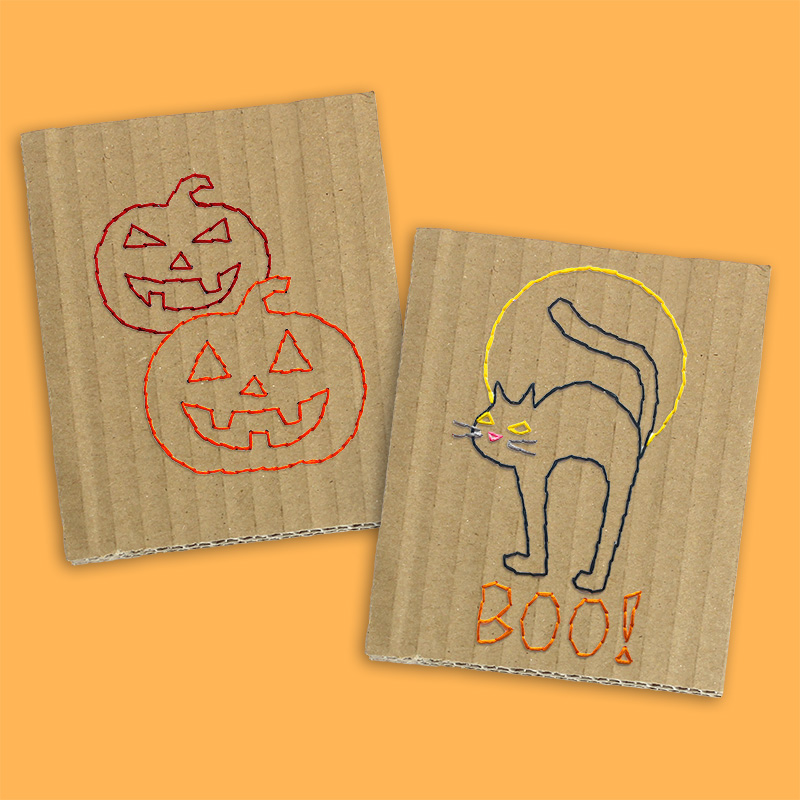
Do you want to make some spooky decorations for Halloween with your kids? In this project, they will learn how to embroider Halloween-themed motifs on cardboard or other materials. To get started, all you need is to download and print our Halloween-themed embroidery patterns.

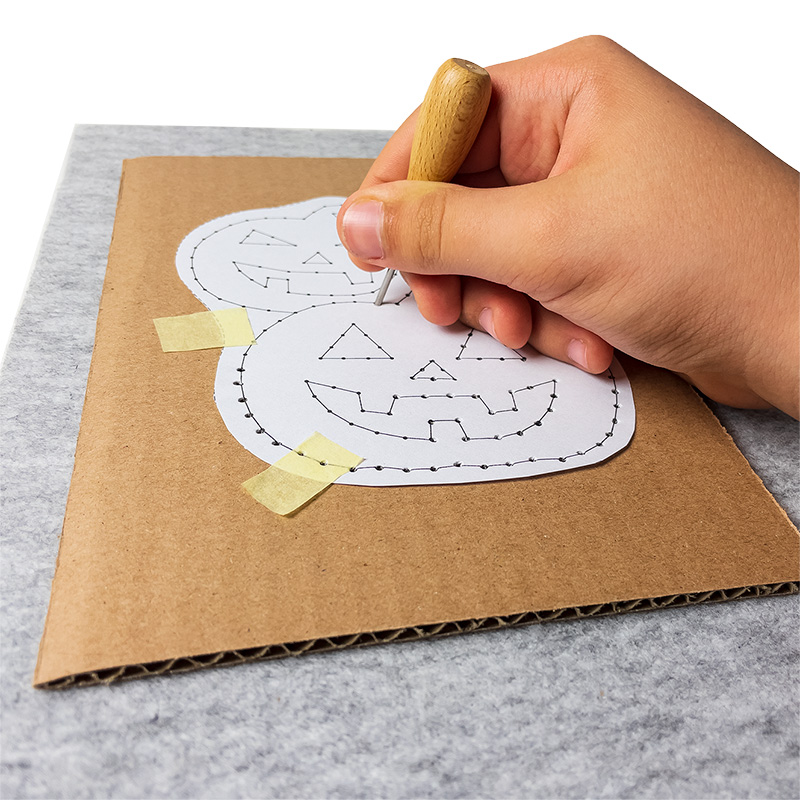
Print out your chosen pattern on white paper and cut it out along the dotted line.

Tape the pattern onto the surface that you want to embroider.

Pierce holes through the dots with a piercing tool. For this you should place a piece of felt, cutting mat or some newspaper underneath.

Carefully remove the pattern template from the surface. Keep the template as a guide whilst embroidering.

If you like, you can connect the dots with a pencil, so that you can see the shape better when you stitch.

Cut a length of embroidery yarn and tie a knot at one end, leaving a little extra at the end. Thread the other end through the eye of an embroidery needle. Push the needle through a hole from the back to the front of the pattern, so that the knot is at the back.

Stitch your pattern alternately from back to front and vice versa, up and down.

When you get to the end, keep stitching the pattern back in the other direction to fill in the gaps.

When you’re done, tie the two ends together at the back.

WOW!

Shop featured products

Embroidery Patterns - Halloween
Learn embroidery step by step with our Halloween-themed embroidery patterns.
$ 4,40