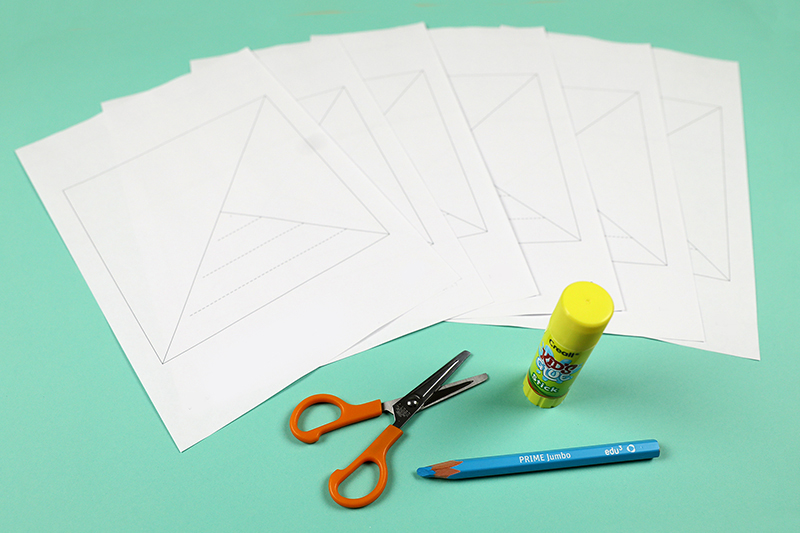
To get started, all you need is to download and print our 3D Paper Snowflakes templates. Print out your chosen templates on white or colored paper. For one snowflake, you'll need 6 squares.
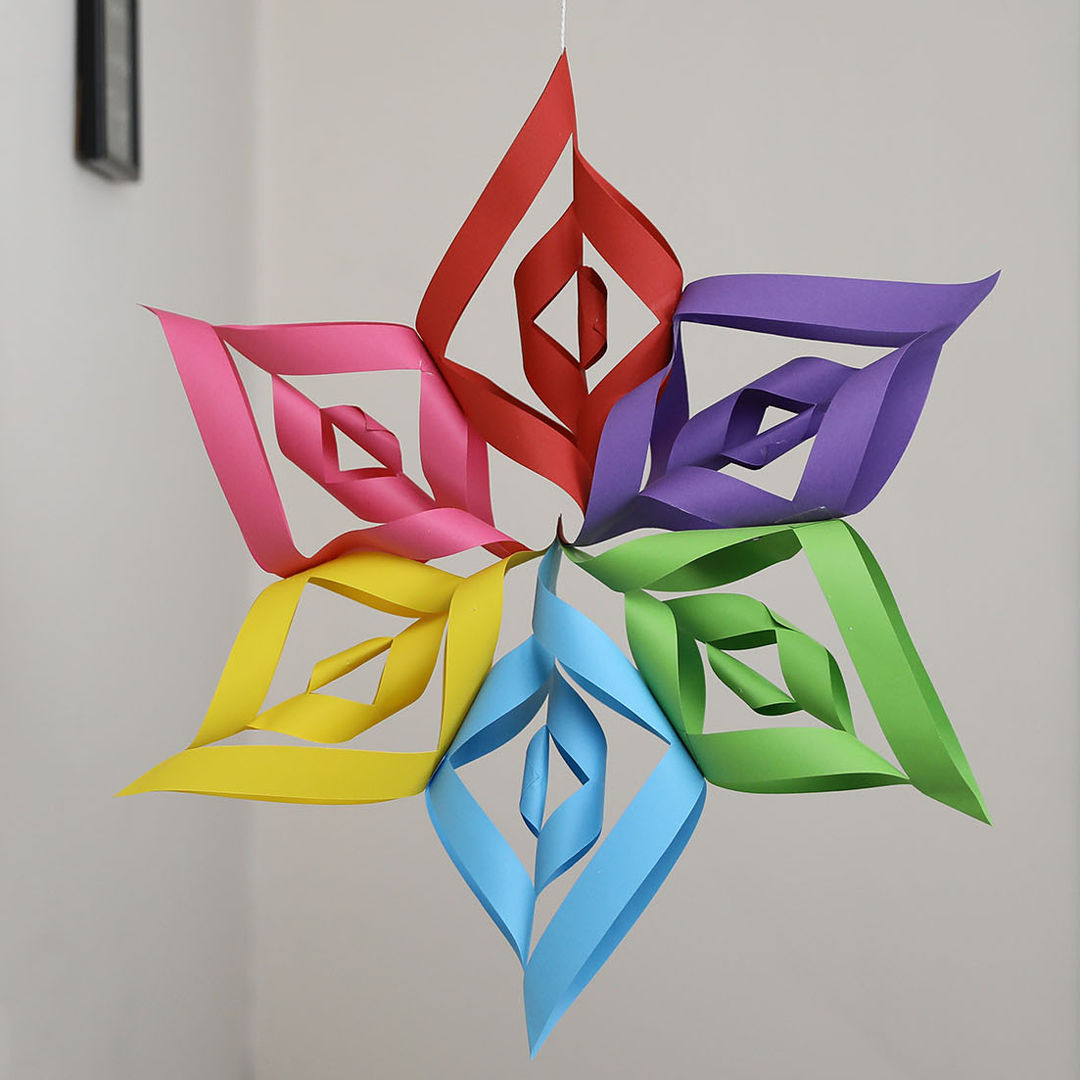
How to Create Amazing 3D Snowflakes
Blog Image placeholder
What you’ll need
Scissors,
Thread,
Pencil,
Glue,
Printing paper

Duration
1 hour +
Age
7 years +
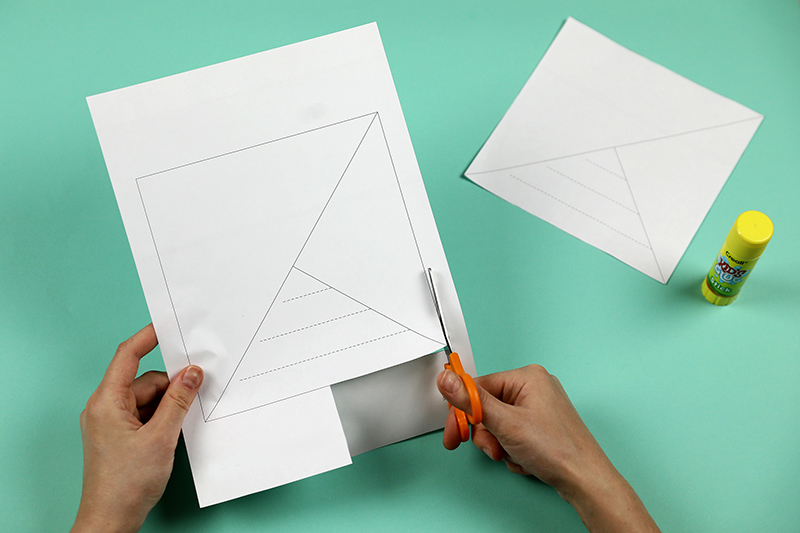
Cut out the square templates.
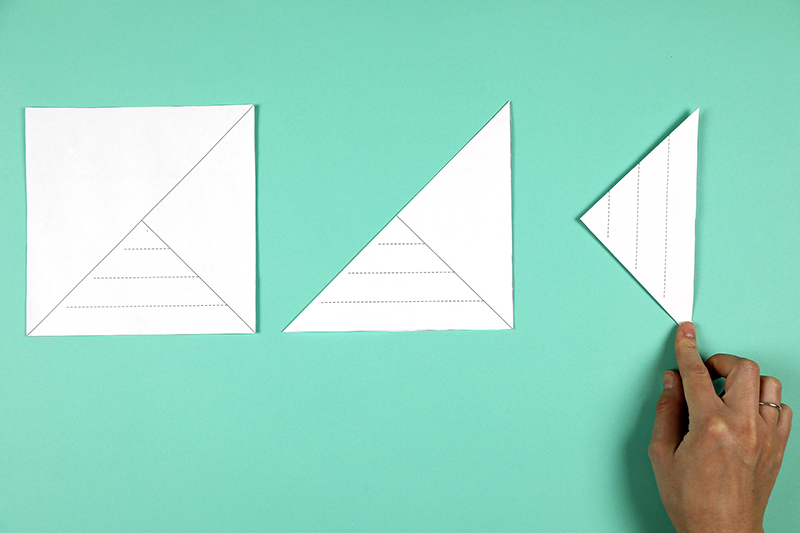
Fold the triangle again so that the lines are on top.
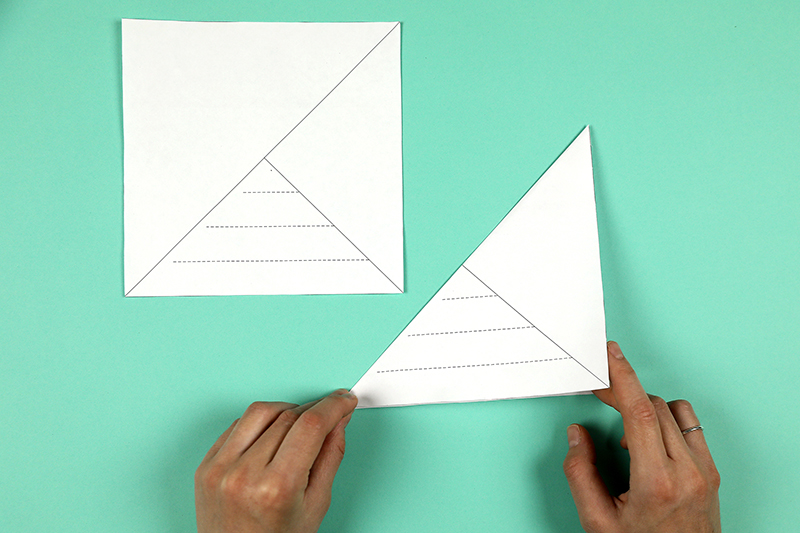
Fold the triangle again so that the lines are on top.
Cut the paper along the lines just until the line ends.
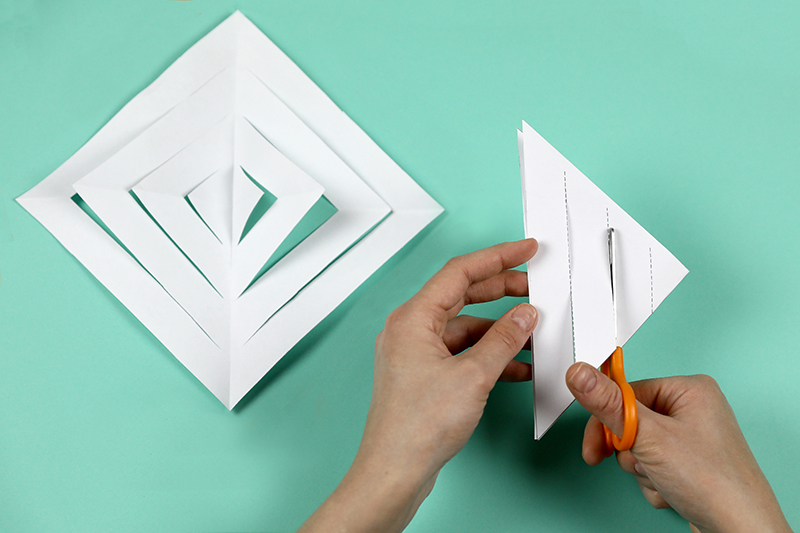
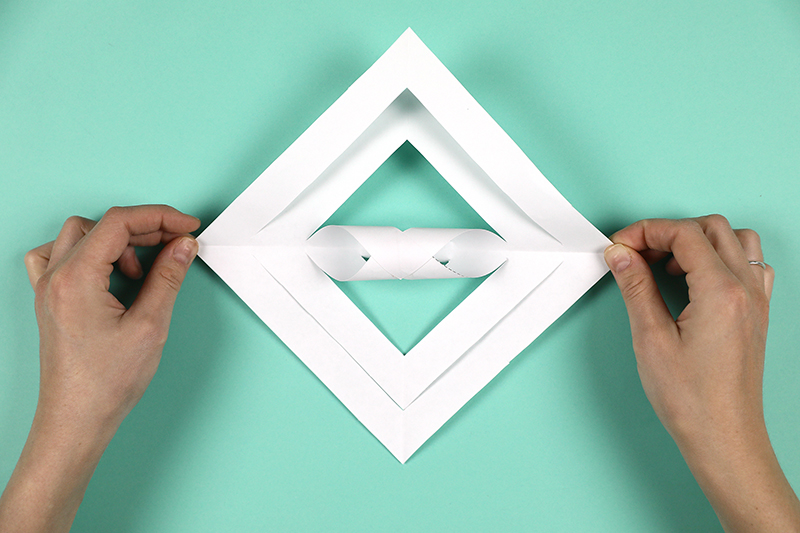
Open the square, front side facing you, and turn it so that it’s diamond-shaped. Glue the innermost flaps together at the tips. For the small squares, you can use a pencil to help with this.

Flip the square so that the back of the paper is facing you and glue the second pair of flaps together at the tips.
Flip the square over again so the front of the paper is facing you and glue the third pair of flaps together at the tips.
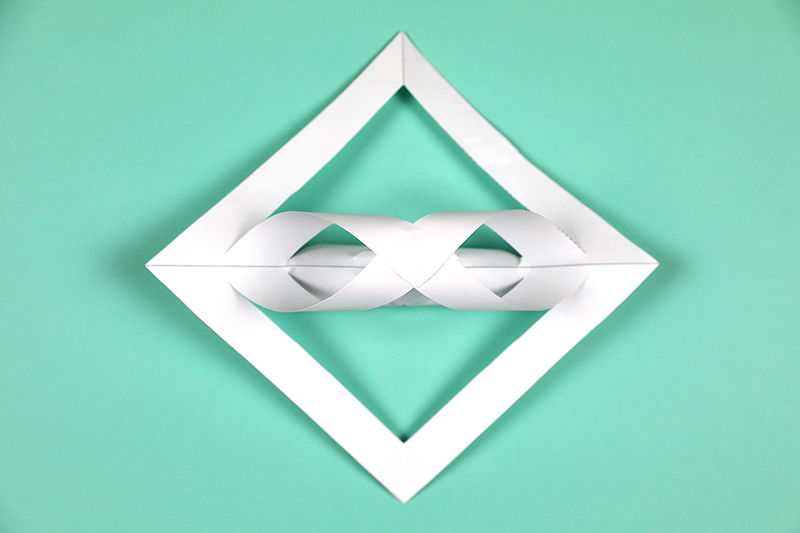
Flip the square over for the last time so the back is facing you again and glue the fourth pair of flaps together at the tips.
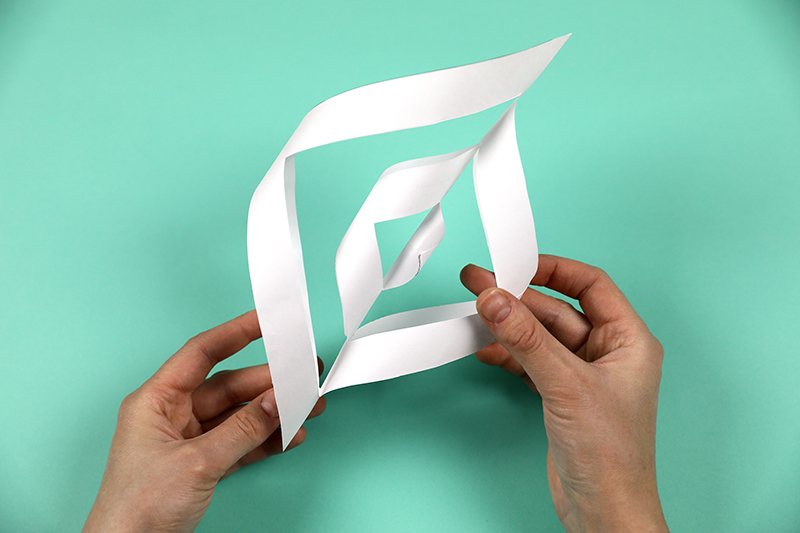
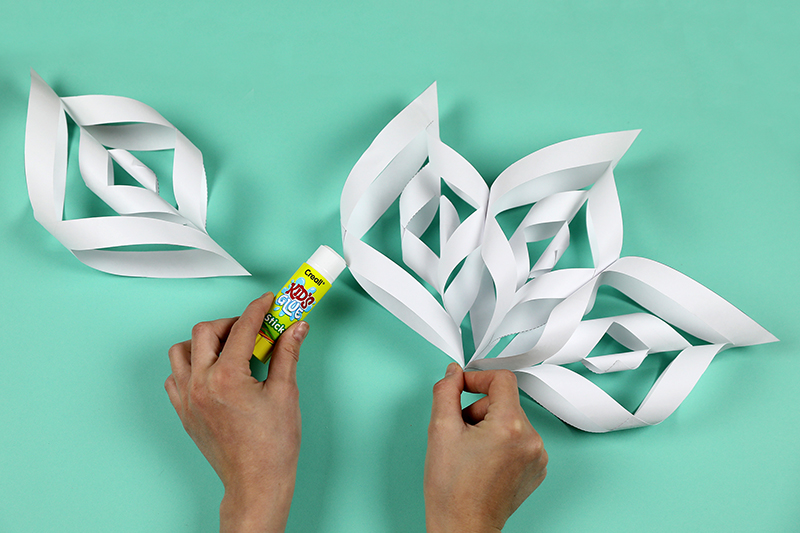
The large snowflakes are made up of 6 of these. You could also hang up these simple snowflake shapes already as a mobile.
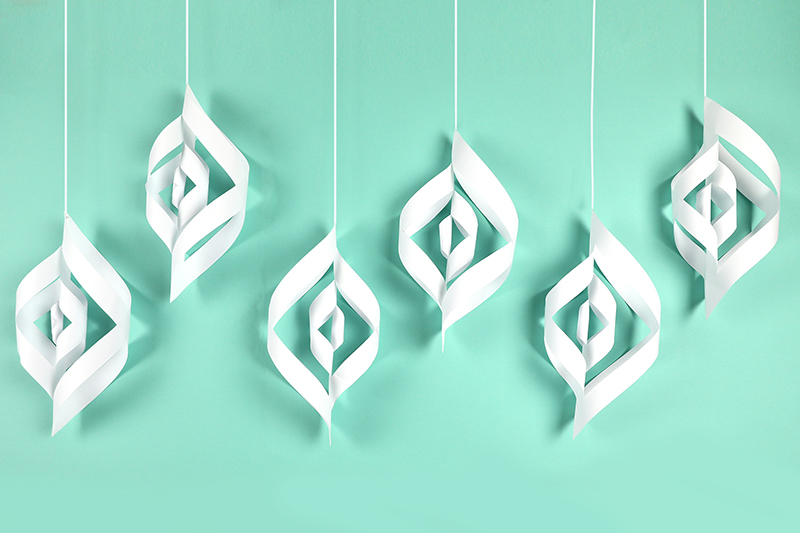
Glue the six pieces together one by one at the bottom and in the middle where they touch.
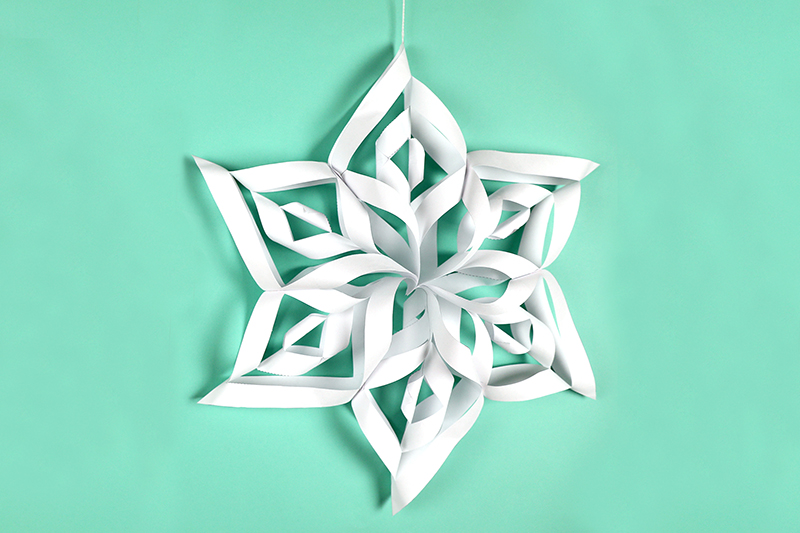
Tie a thin string to the top of the snowflake and hang the snowflake from the ceiling or in the window... WOW!
Shop featured products

3D Paper Snowflakes
Create your own 3D snowflakes with this festive paper craft resource. Learn how to fold, cut, and glue paper squares into different patterns.
$ 4,90